EV Charger Installation: What to Expect on the Day
Booked your home EV charger installation? Here is a step-by-step guide to what happens on the day, how long it takes, and what you need to prepare beforehand.
You have bought your electric vehicle, applied for your OZEV grant, and booked your installation. Now you are wondering what actually happens on the day.
Home EV charger installations are straightforward jobs for a qualified electrician — most are completed in three to four hours. But knowing what to expect helps you prepare properly and ensures the day goes smoothly.
Before the Installation: What You Need to Do
Choose Your Charger Location
The most common location for a home EV charger is on an external wall of the house or garage, close to where you park. Ideally, it should be:
- Within cable reach of your consumer unit (shorter cable runs are cheaper and neater)
- Sheltered from the worst of the weather if possible
- Accessible without trailing a cable across a path or driveway
Your electrician will discuss the best position with you when they arrive, but having a rough idea beforehand speeds things up.
Ensure Access to Your Consumer Unit
The electrician will need clear access to your consumer unit (fuse box) to connect the new circuit. Make sure it is not blocked by furniture, boxes, or other items.
Check Your Wi-Fi Signal (for Smart Chargers)
Most modern home EV chargers are smart chargers — they connect to your home Wi-Fi to allow scheduling, energy monitoring, and remote control via an app. Check that your Wi-Fi signal reaches the installation location. If it does not, a Wi-Fi extender may be needed before the installation.
Be Home for the Day
The installation typically takes three to four hours, but it is worth being available for the full day in case any unexpected issues arise. You will also need to be present to sign off the completed work.
What Happens on the Day
Step 1: Survey and Preparation (30–45 minutes)
The electrician will start by assessing the installation location and the route for the cable from your consumer unit to the charger. They will check:
- The condition and capacity of your consumer unit
- The best cable route (surface-mounted trunking or concealed)
- Any potential obstacles or complications
If your consumer unit is old or does not have a spare way for the new circuit, additional work may be needed. A reputable electrician will flag this before starting, not after.
Step 2: Cable Installation (60–90 minutes)
The electrician will run a dedicated circuit from your consumer unit to the charger location. This is typically a 6mm or 10mm cable, depending on the charger's output.
The cable can be:
- Surface-mounted in trunking or conduit — quicker and less disruptive
- Concealed in the wall — neater but more time-consuming and may involve some making good
For external runs, the cable will be protected against weather and physical damage.
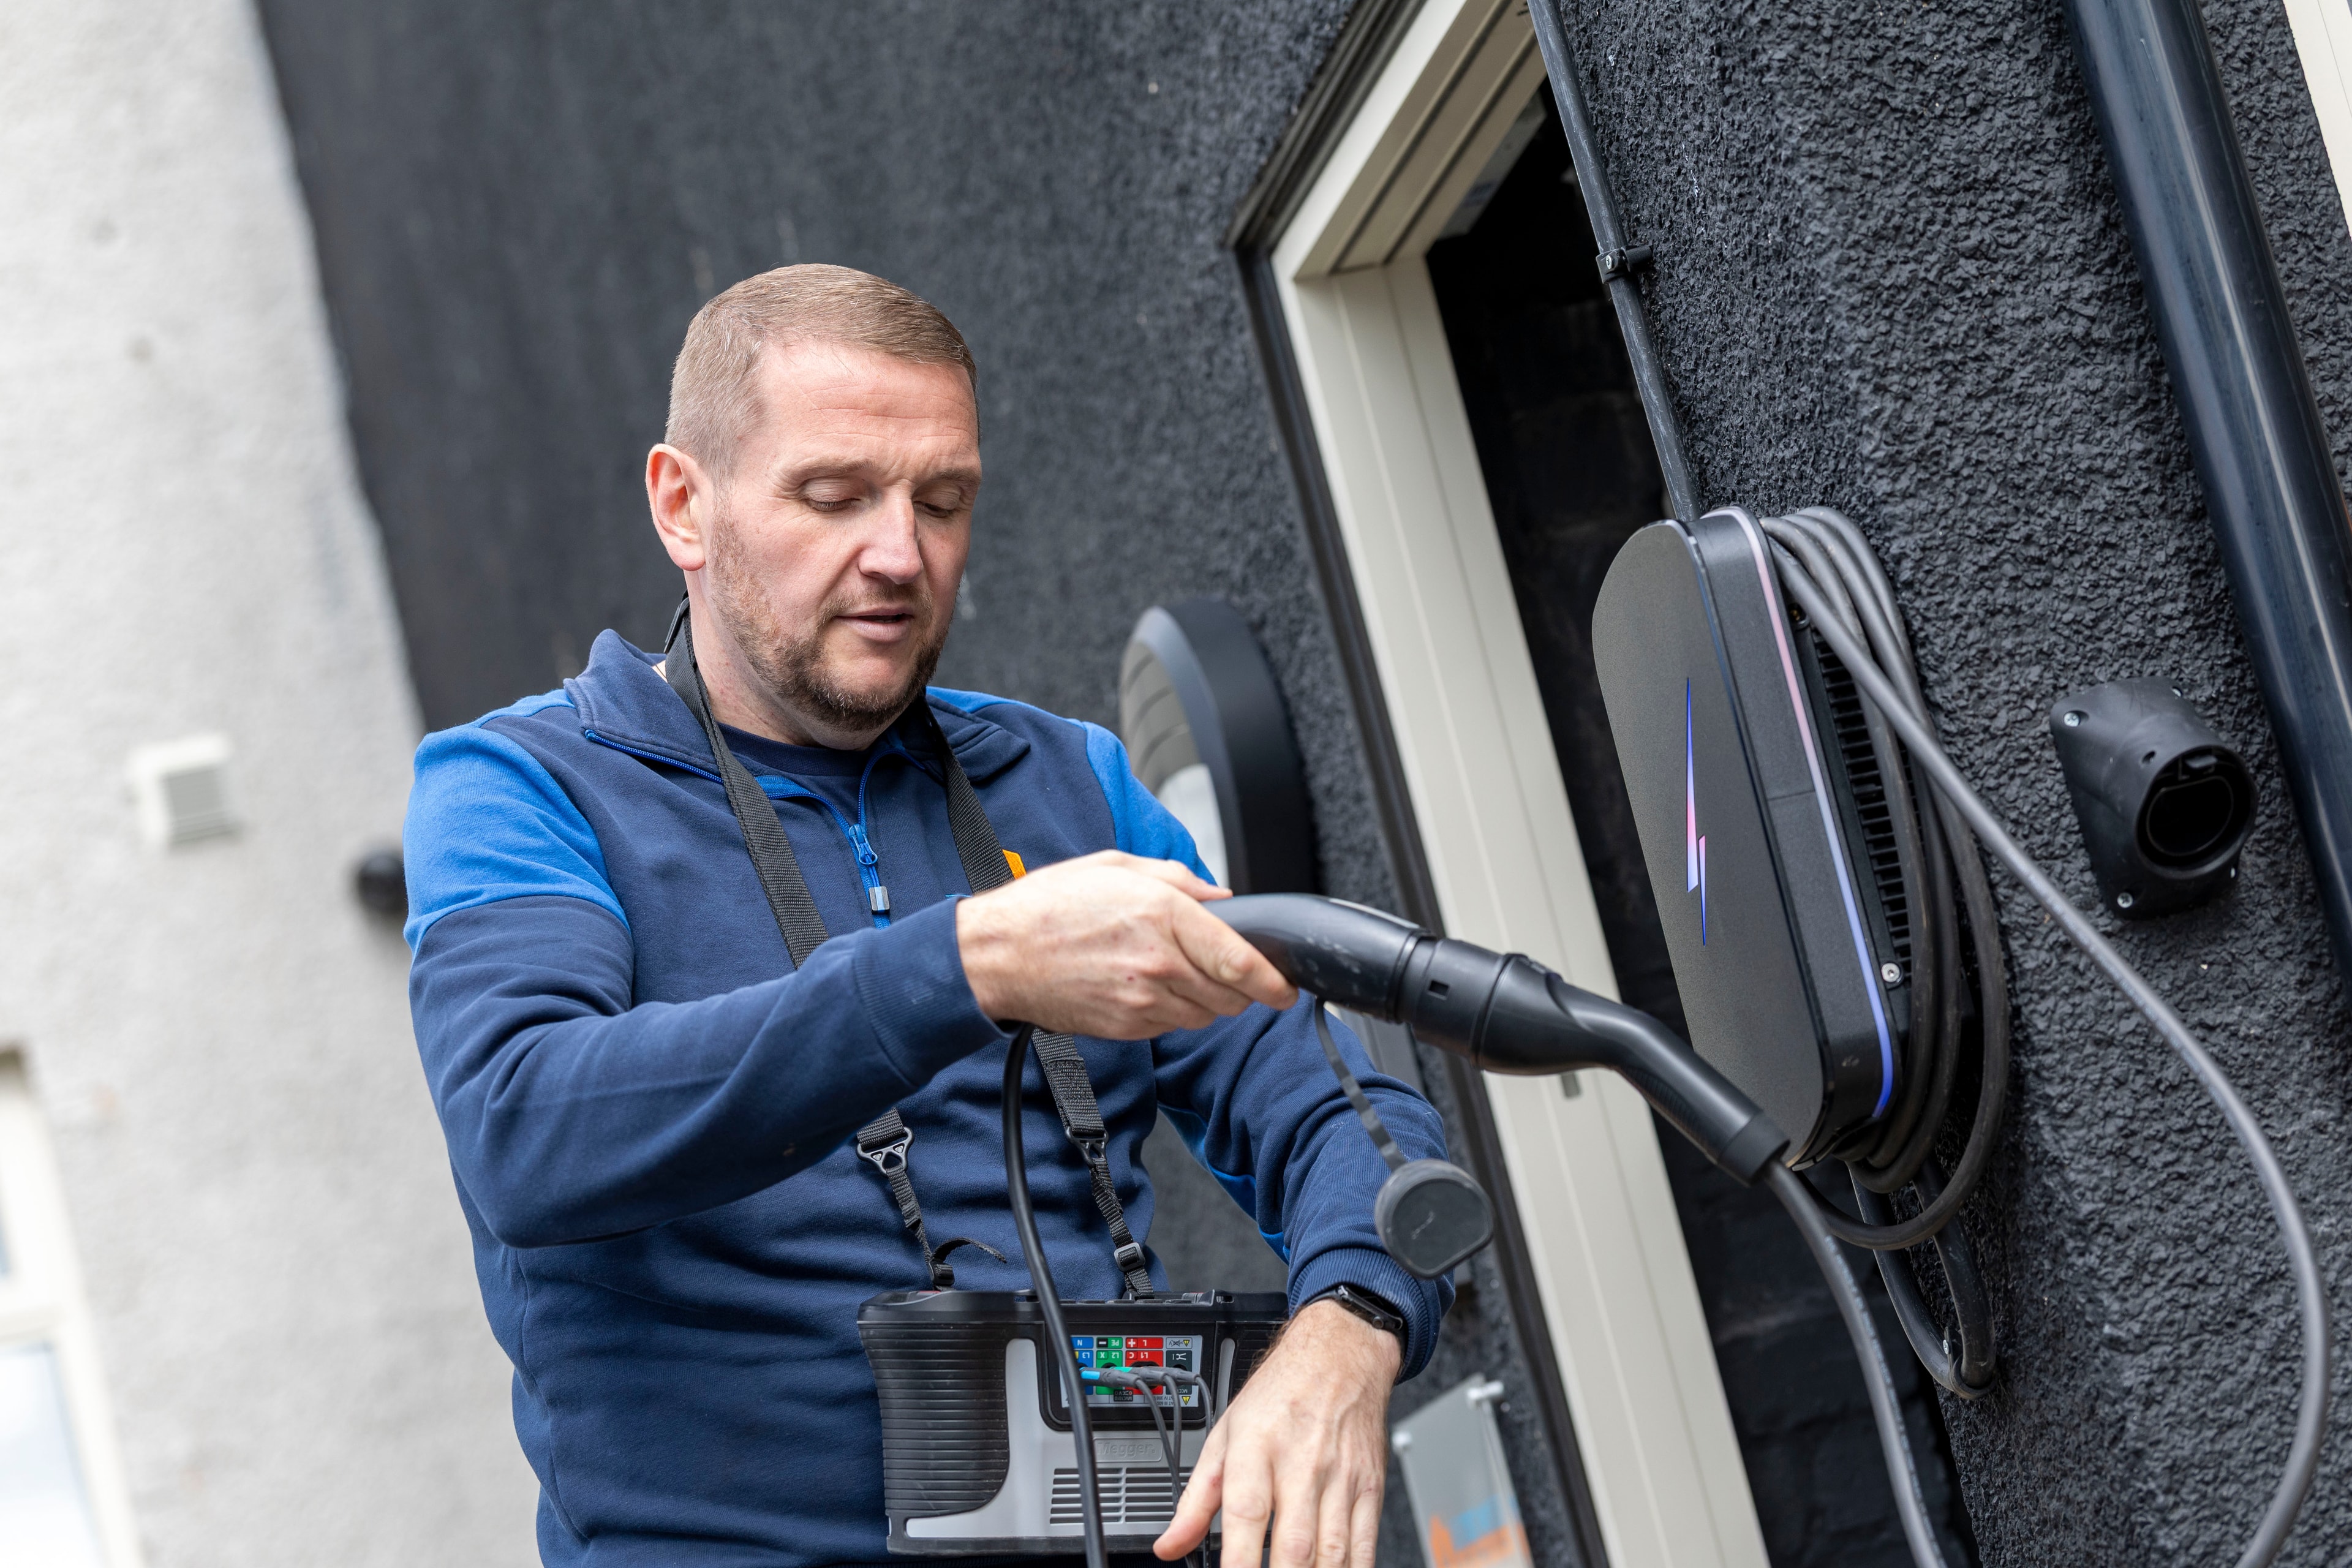
Step 3: Charger Mounting and Connection (30–45 minutes)
The charger unit is fixed to the wall and the cable is connected. The electrician will ensure the unit is level, secure, and correctly earthed.
Step 4: Consumer Unit Connection and Testing (30–45 minutes)
A new circuit breaker (and RCD if required) is fitted in your consumer unit and the circuit is connected. The electrician then carries out a full test of the installation to confirm it meets the requirements of BS 7671 (the UK wiring regulations).
Step 5: Commissioning and Handover (15–30 minutes)
The charger is powered up and commissioned. For smart chargers, the electrician will help you connect it to your Wi-Fi and download the associated app.
You will receive:
- An Electrical Installation Certificate (EIC) confirming the work meets the required standard
- The OZEV grant paperwork (if applicable) — your installer submits this on your behalf
- A demonstration of how to use the charger and its app
How Long Does It Take?
Most standard home EV charger installations take three to four hours. More complex installations — longer cable runs, concealed wiring, or consumer unit upgrades — may take longer.
What Charger Will You Get?
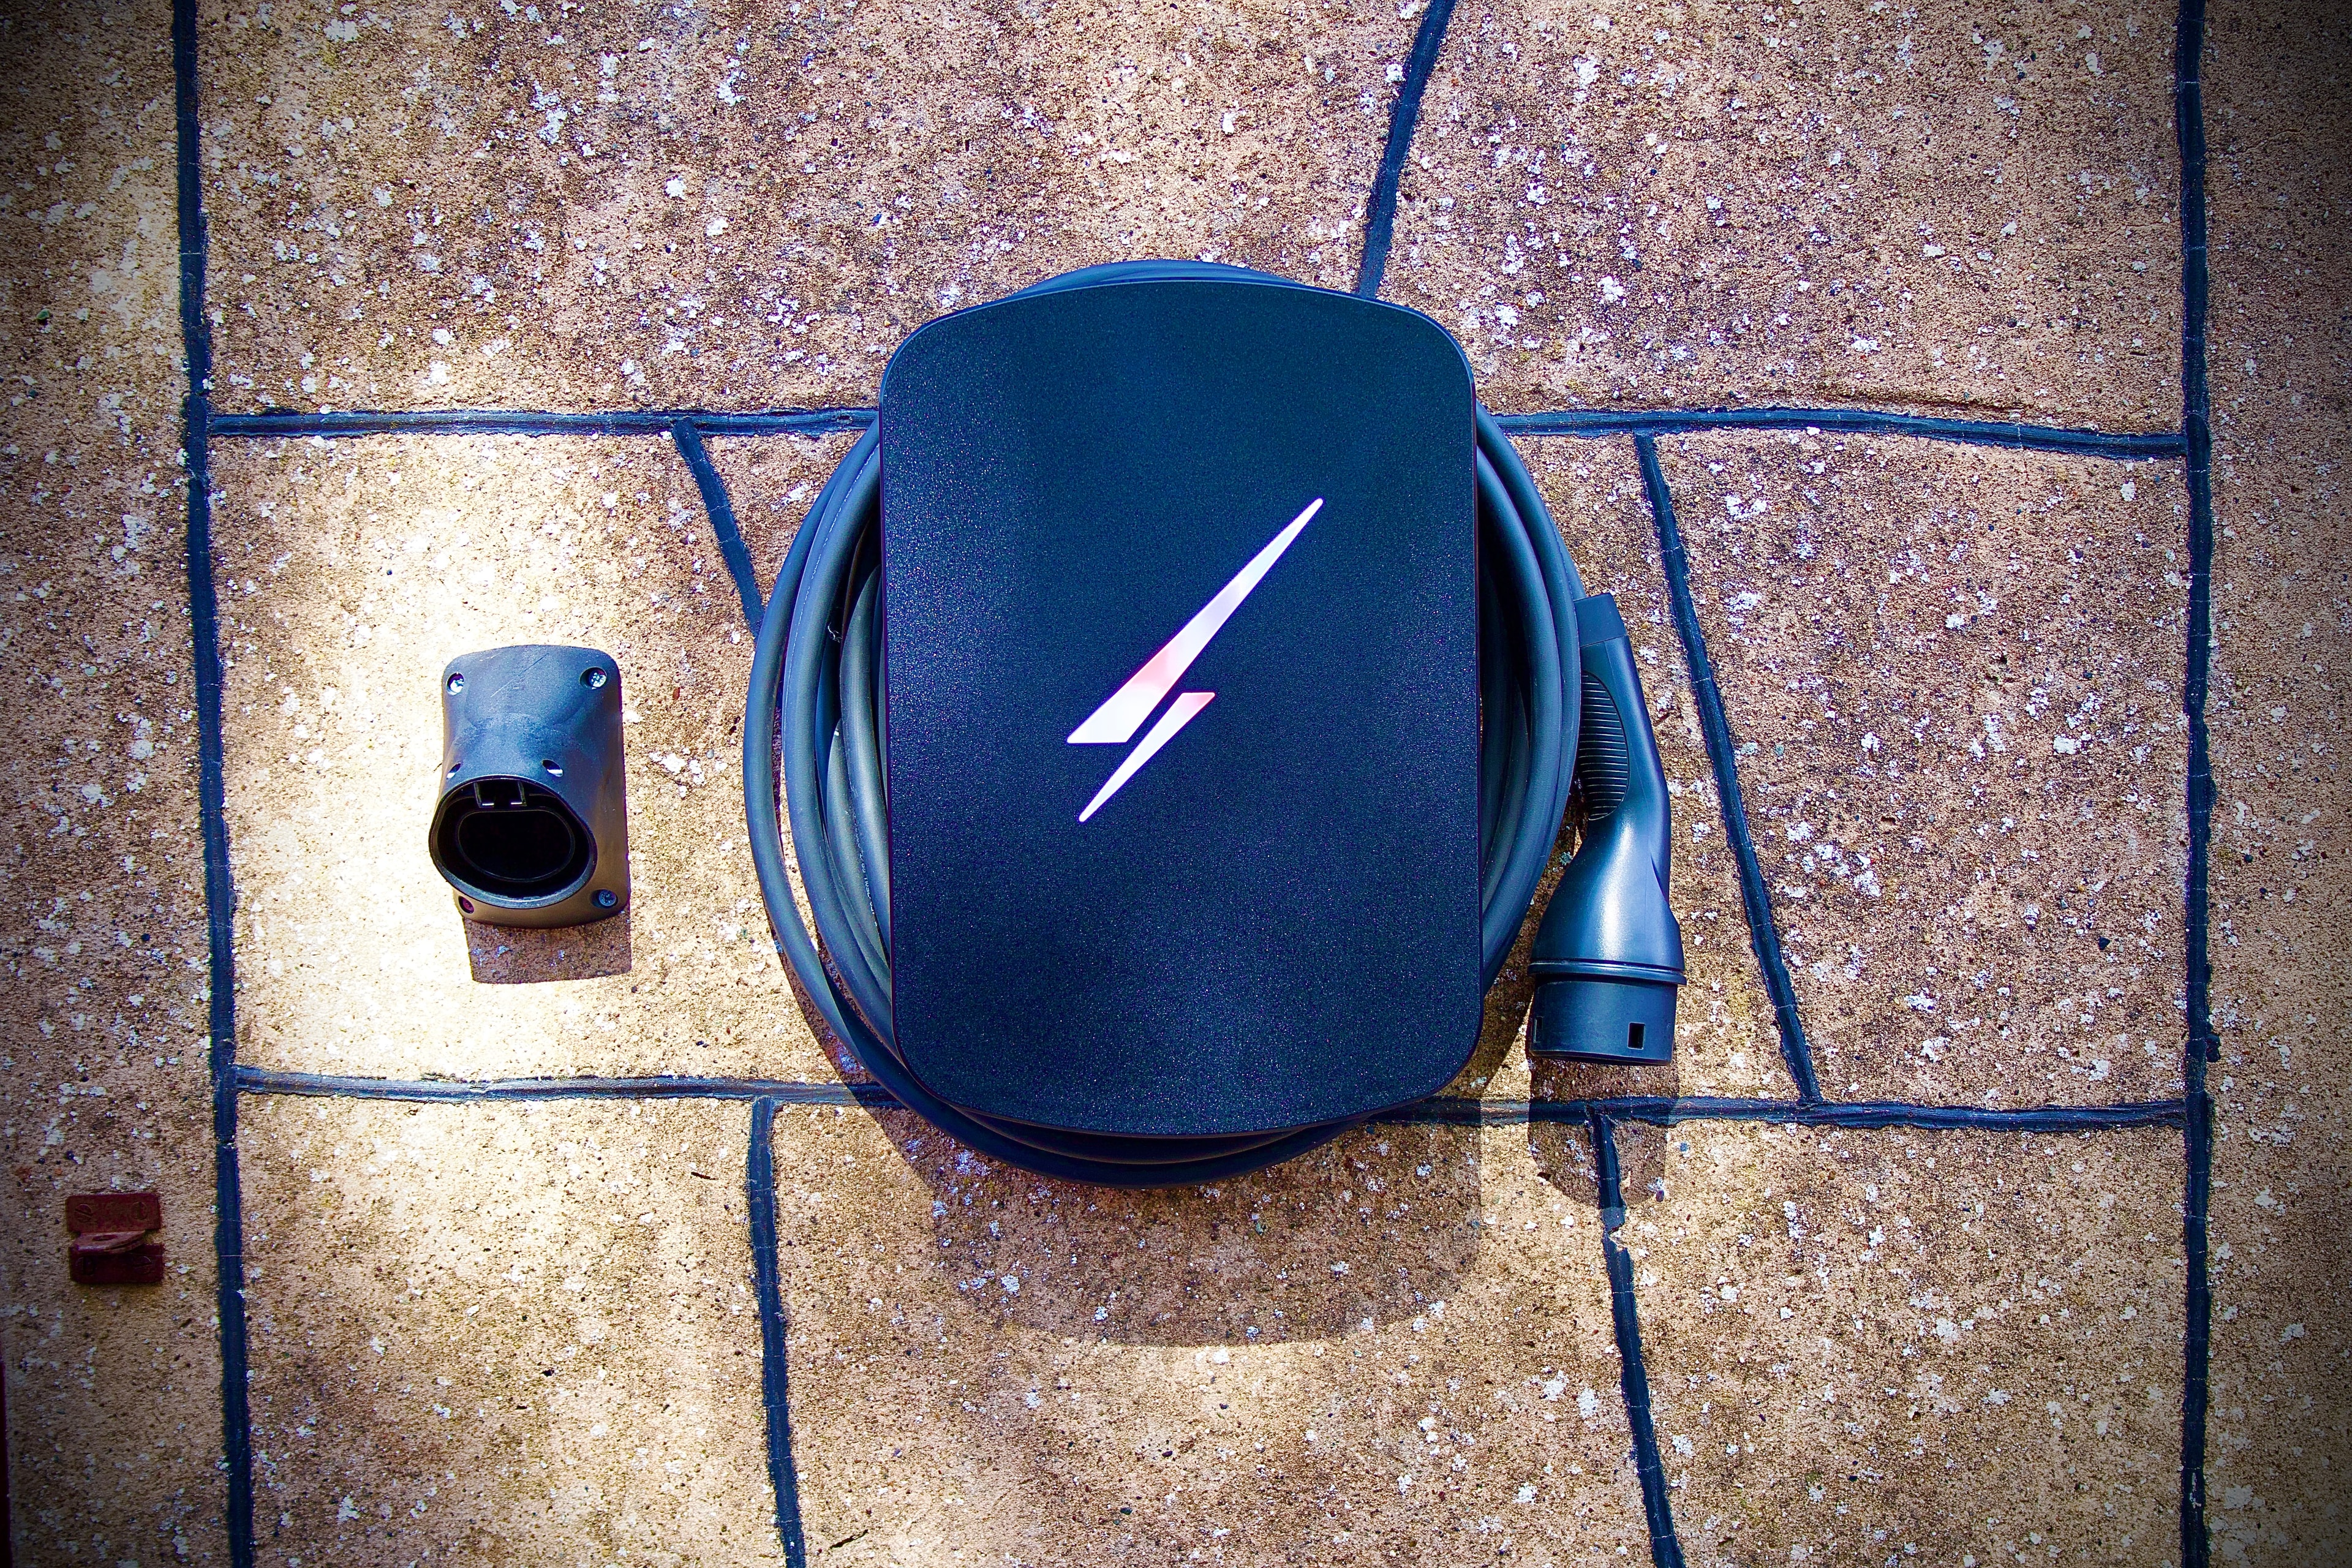
The most common home EV charger is a 7kW single-phase unit, which will charge most electric vehicles from empty to full overnight. If your home has a three-phase supply (uncommon in residential properties but more common in newer builds), a 22kW charger may be an option.
Popular brands include Ohme, Zappi, Hypervolt, and Andersen. Your installer can advise on the best option for your vehicle and usage patterns.
The OZEV Grant
If you are eligible for the OZEV (Office for Zero Emission Vehicles) grant, it covers up to £350 towards the cost of your home charger installation. Eligibility conditions include:
- You must own or have ordered an eligible electric vehicle
- The charger must be installed at your home address
- The installation must be carried out by an OZEV-registered installer
At Test My Electrics, we are registered with OZEV and handle the grant application on your behalf. You do not need to do anything — we submit the paperwork and the grant is deducted from your invoice.
After the Installation
Once your charger is installed and commissioned, you are ready to charge. A few things to bear in mind:
Use a dedicated circuit. Your EV charger has its own dedicated circuit — do not plug other appliances into it.
Schedule overnight charging. Most energy tariffs offer cheaper overnight rates. Use your charger's scheduling feature to take advantage of this.
Keep the unit clean. Wipe the unit down occasionally with a dry cloth. Do not use water or cleaning products directly on the unit.
Register your warranty. Most charger manufacturers require you to register the unit to activate the warranty. Do this through the app or the manufacturer's website.
Summary
A home EV charger installation is a clean, straightforward job that most homeowners find far less disruptive than they expected. In a morning or afternoon, you go from relying on public charging to having a fast, convenient charger on your own wall.
If you are ready to book your EV charger installation in Ayrshire — or want to find out whether you qualify for the OZEV grant — call Test My Electrics on 01292 432525.
Explore Topics
Written by
Neil Claxton
Content creator and writer sharing insights and stories.